Craft portfolio
Hi! I'm Nadia also known as KeresCrafts
Here you can find an overview of my craft projects
Cosplays
Click the images for behind the scenes photos and detailed information
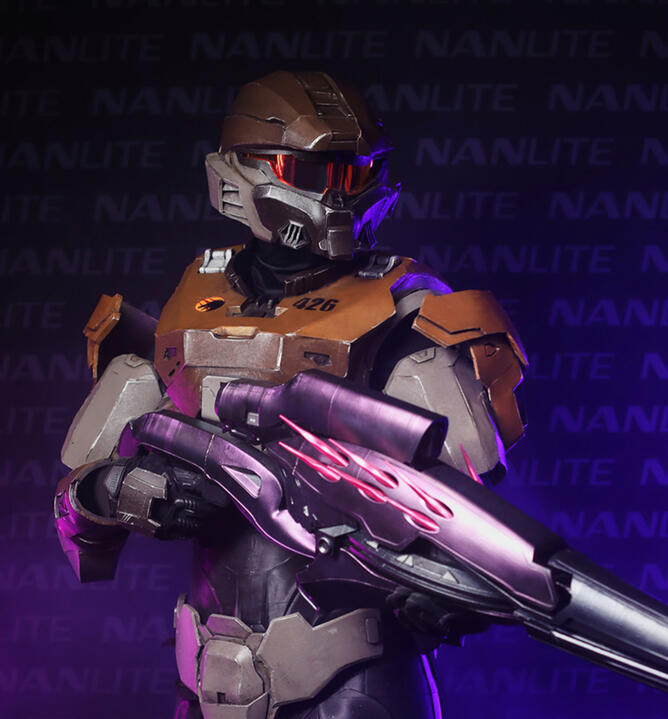
Halo spartan

Lilith - D&D

Keres - Baldurs gate

Vault dweller - Fallout

Lapras - Pokemon

Selkie

Mistborn
Props
Click the images for behind the scenes photos!
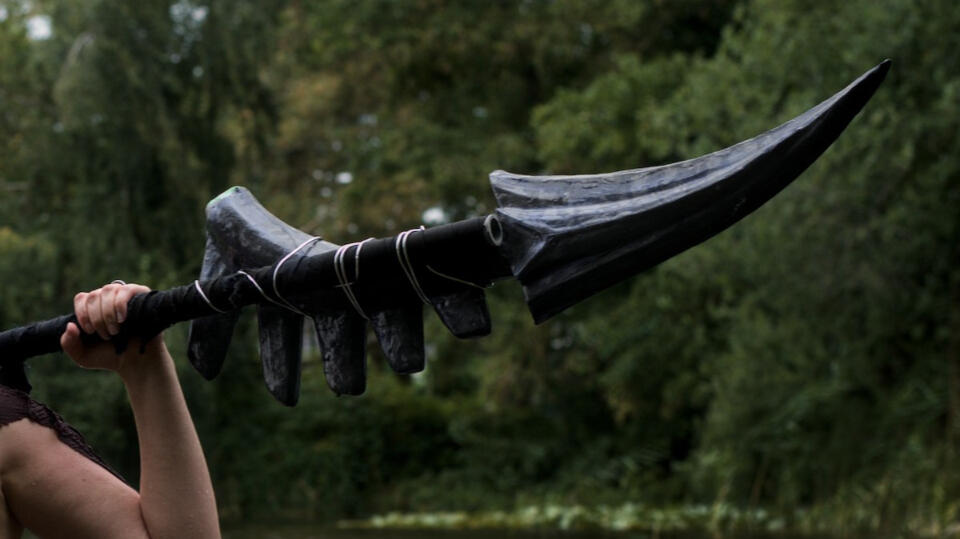
Xeno spear

Fallout plasma pistol
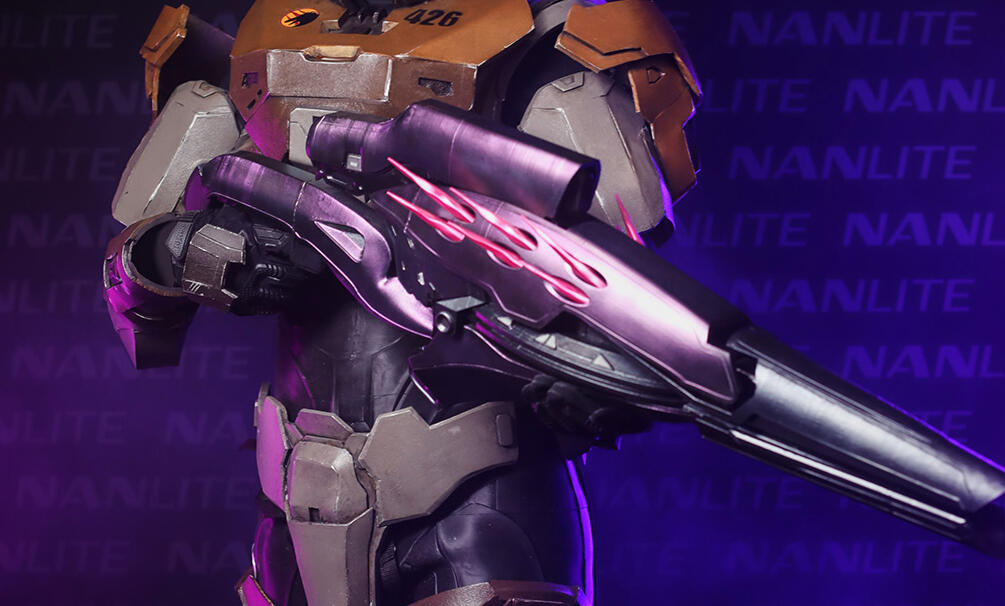
Halo needler

Halo lightrifle
© KeresCrafts All rights reserved.
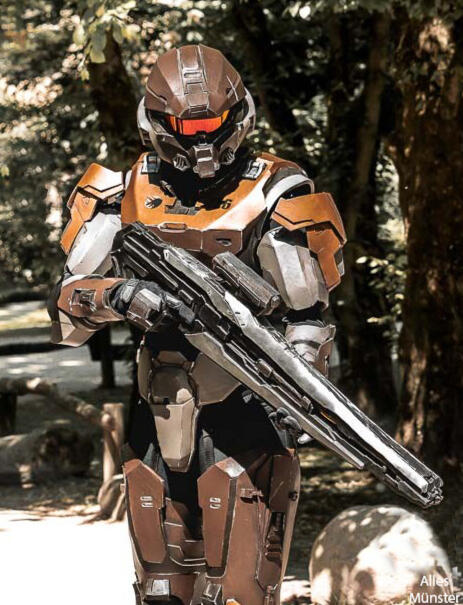
Halo Spartan
Building a spartan
Work in progress photos of my spartan build, an in-depth step-by-step process log can be found on the 405th forum -->
Armor

Pattern pieces for the chest piece

Assembled foam helmet with foam clay seal filling

test fit

Noctua USB fan inside the chest to keep cool.

edge weathering details

painting the armor


How long did this take?
130 hours of work, give or take, over the span of 6 months.What materials did I use?
Most of the armor is built with 2 or 10mm EVA foam with a few small detail exceptions like the air filters on the helmet which I 3D printed with PLA. The visor is a motorcycle visor that I cut to size. It's all glued with contact cement and re-enforced on the inside with hot glue.
Undersuit

Test pour with dragonskin silicone and a 3D printed mold

Undersuit mold with silicone

inside of the mold

Silicone undersuit straight out of the mold


Silicone undersuit
I used 1800g of dragon skin 10 fast with black pigment. I adapted an existing 3D mold model in Blender to fit my measurements.
Finished armor


Lilith - Dungeons and dragons
Realising a DnD character
Work in progress photos of my DnD character Lilith
Photo by @kippie19
Character concept
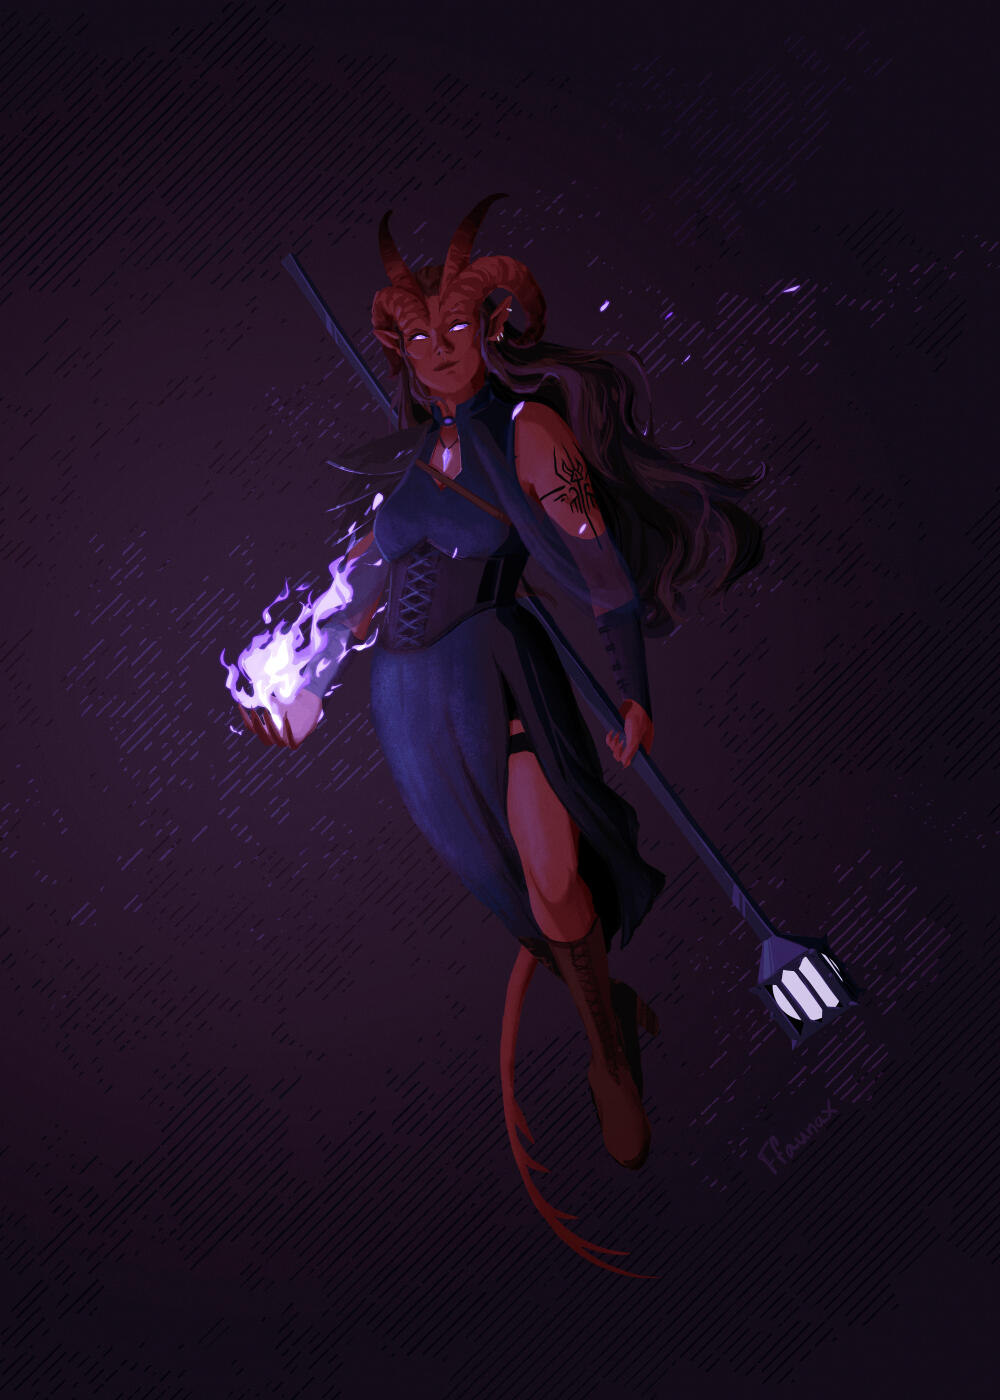
Drawn by my friend Ffaunax
Horns

First attempt at horns

Second attempt

Headband base

Untitled

Untitled

Untitled


For the horns I later on decided I did want all 4 horns so I changed the headband design to accomodate the extra horns.
Dress

Deciding on where the sash will sit

Backside clasps for the sash so it is removable

Choker/necklase sash attachment and decoration


Tail

Untitled

Untitled

Untitled


Two sides of upholstery foam, I cut pockets on the inside of the two halves on the edge of each segment to improve the flexibility. Once glued together and with contact cement (spray bottle) I cut the outside as smooth as I could. Then the tail was covered with stretchy fabric.
Armor

EVA foam

Painted lower arm piece

Lower and upper arm pieces

3D printed gauntlet pieces

sewing pieces onto a glove

completed armor


For the hand armor I 3D printed the pieces flat and heated them up afterwards to bend them into shape. The shoulder armor is attached to a belt with Chicago screws.
Skin

Painted fake ears

Added nails to the gloves


To prevent having to paint my arms, chest and legs I wear a red bodysuit. For the hands I glued fake nails onto the gloves to create a better illusion of real fingers.
Staff
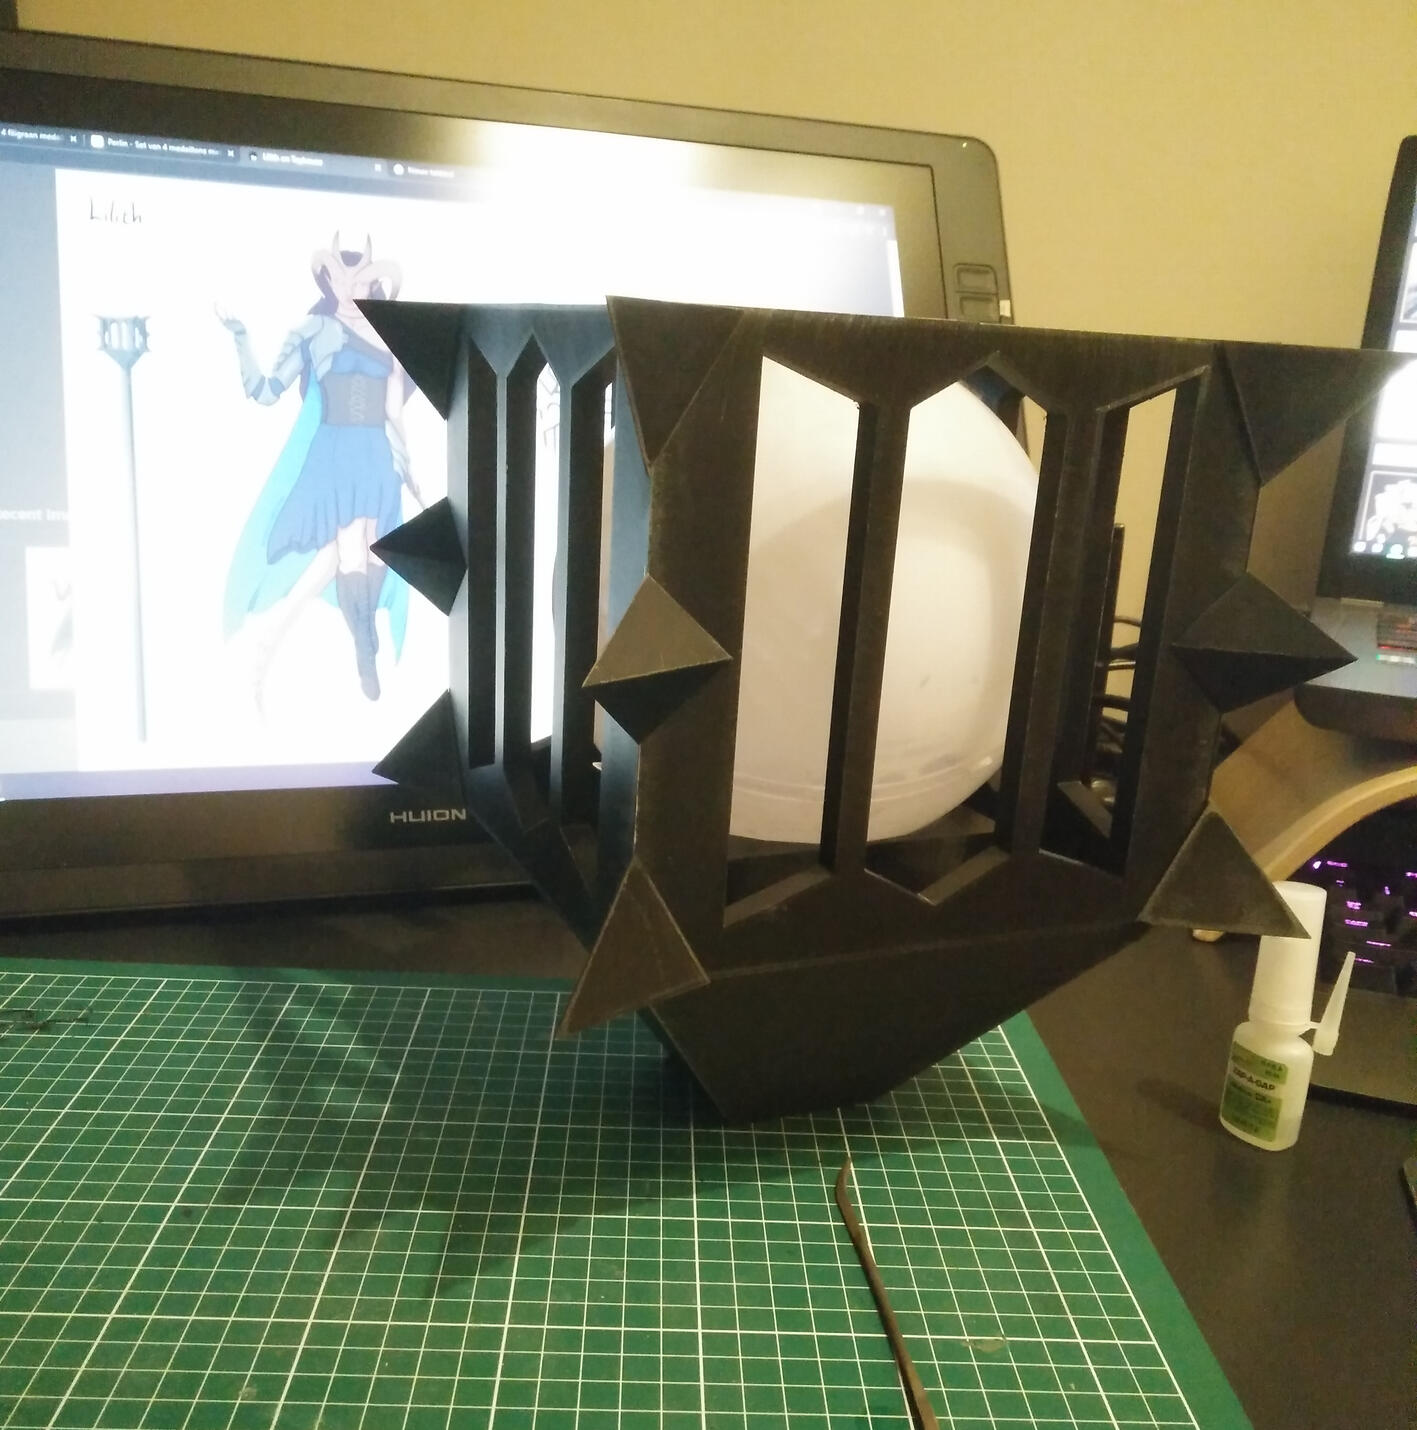
The staff is a simple PVC pipe. I 3D modelled the top from scratch and printed it in PLA. The orb inside is a Christmas ornament that I sanded the inside of and coated with a thin layer of white paint on the inside. You can place a light inside.
Final result
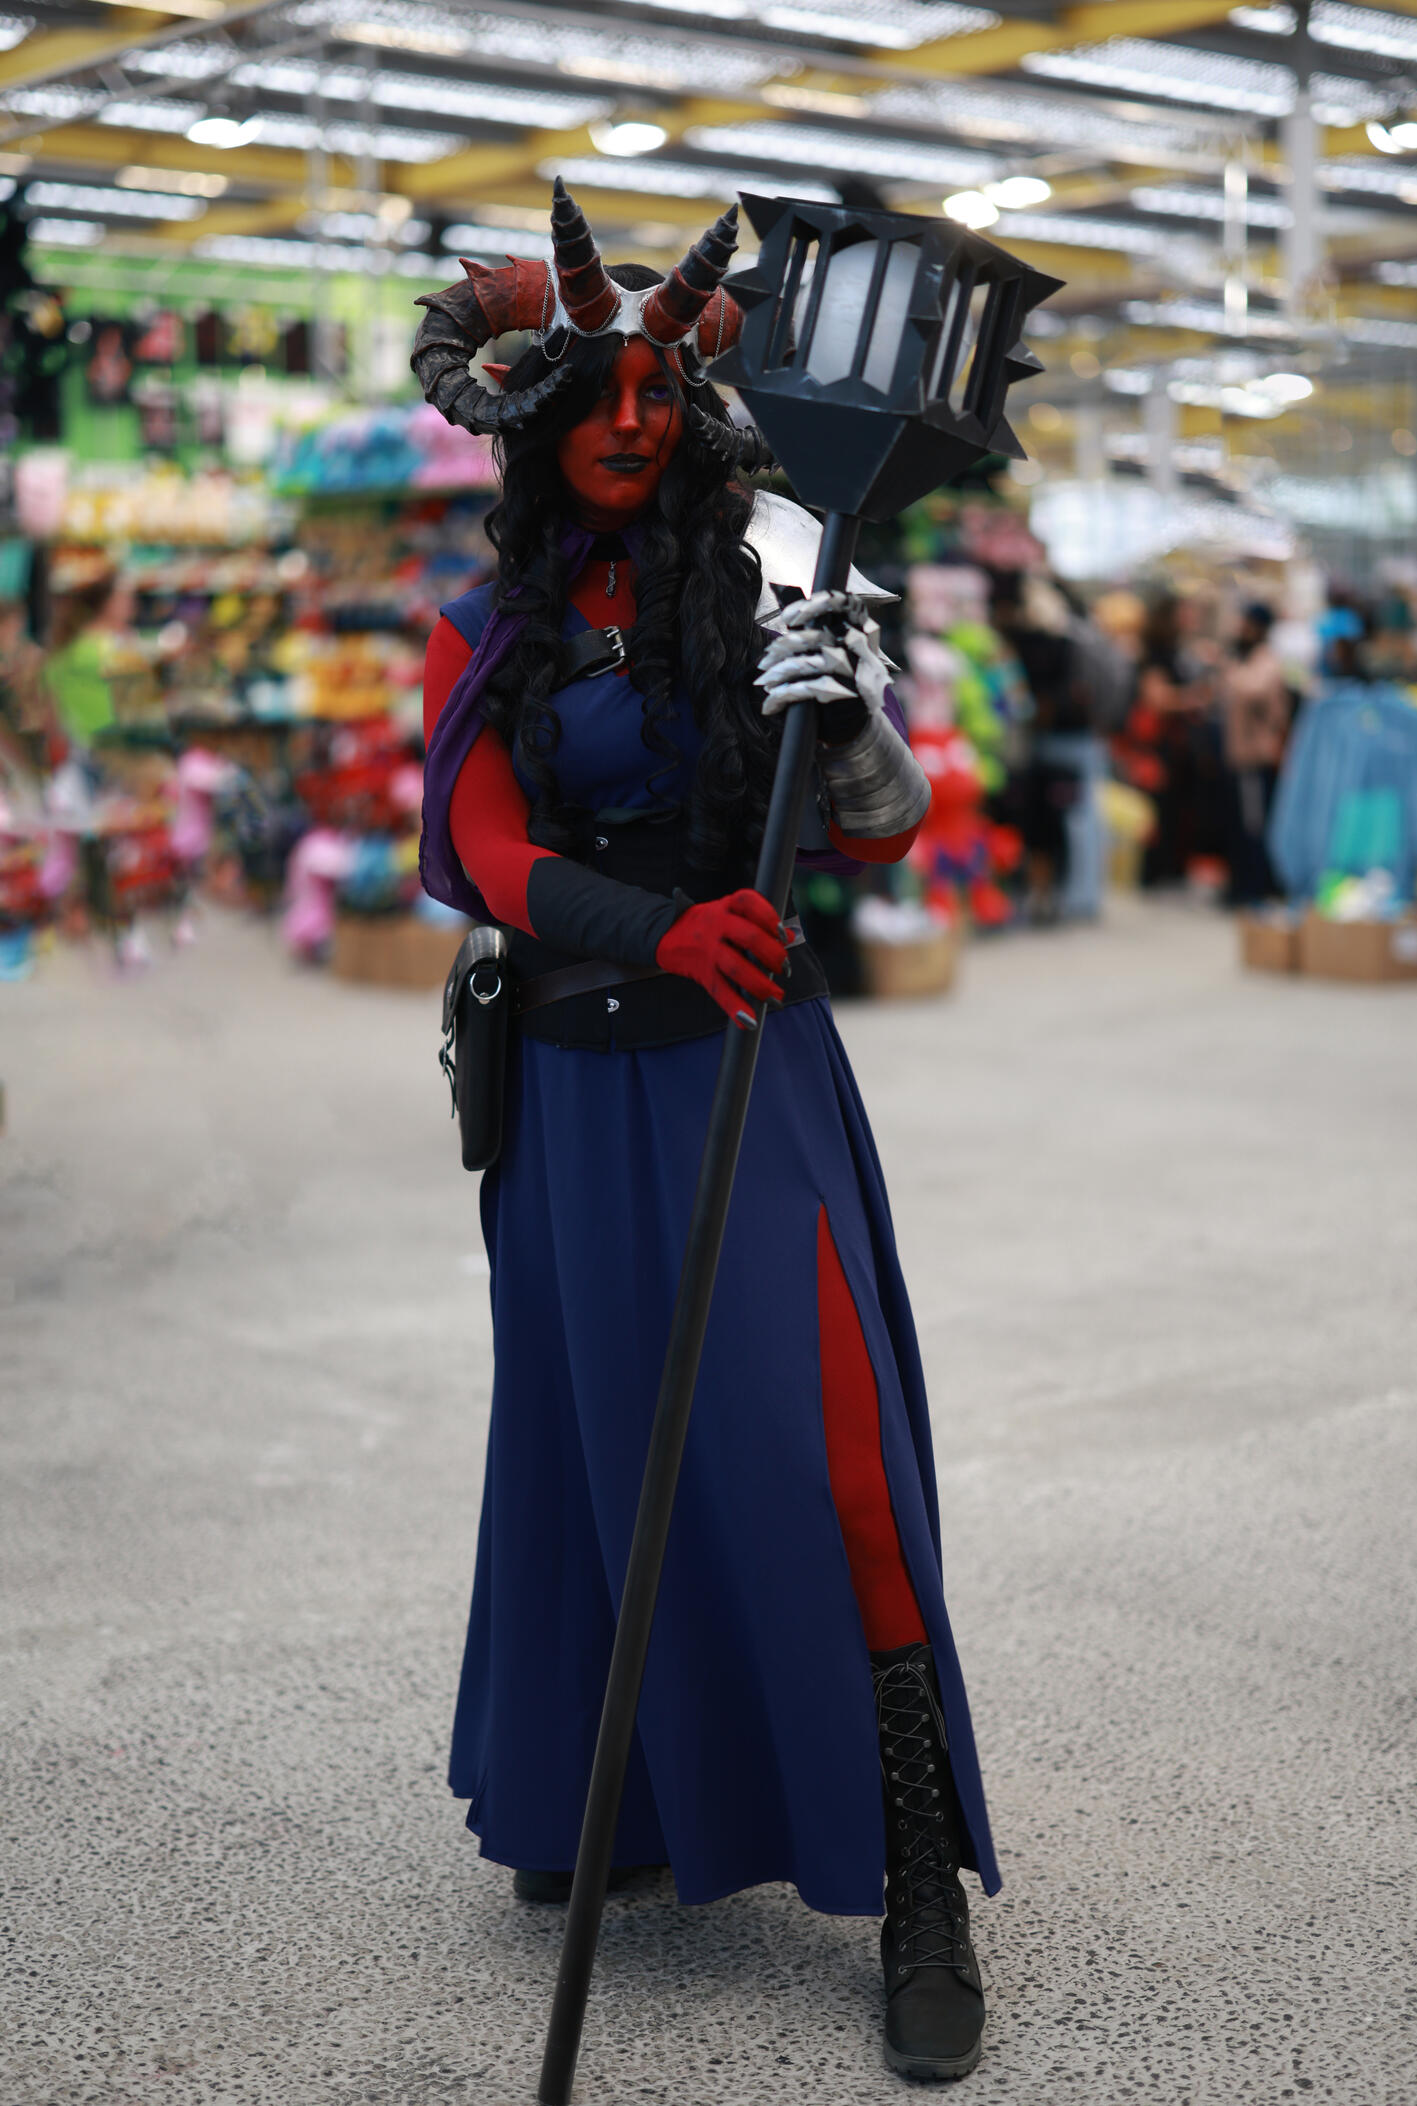
Photo by @cosplayfotokes
Keres - Baldurs Gate
Realising a DnD character
Work in progress photos of my dragonborn cosplay. This cosplay is not entirely finished yet!
Photo by Maarten Kleywegt
Character concept

Drawn by me, based on the Baldurs Gate 3 dragonborn but with my own take on it.
Hands

Dying red gloves

Pattern for the scales

Gluing on nails and scales

finished gloves


Head

EVA foam base

foam clay details

Inside of the mouth

Moved the eyes foreward

3D printed TPU horns

Pleather neck cover

Airbrushing


The eyes are sculpted with air dry clay. The clear covering over it is a Christmas ornament. I decided later on to move the eyes further forward on the mask.
Wings

Wing frame kit by ChimeraWings

Wing sketch

Sewn wing sleeve

Adding airbrush shading around wing bones


Tail

Pool noodle base

EVA foam scales

Painting


Full body

I still want to make a muscle suit and clothing for this build so it's not entirely finished yet! I have yet to wear it together with the wings.
Vault dweller - Fallout
Wasteland survival outfit
Work in progress photos of my fallout cosplay! I bought the suit online and improved it so it looks more appropriate for the post-apocalypse.
Photo @shot.bymarije
Upgrades

3D printed greeblies

Weathering

3D printed mininuke

3D printed laser gun


I added 3D printed props and greeblies to improve the cosplay.
Side by side
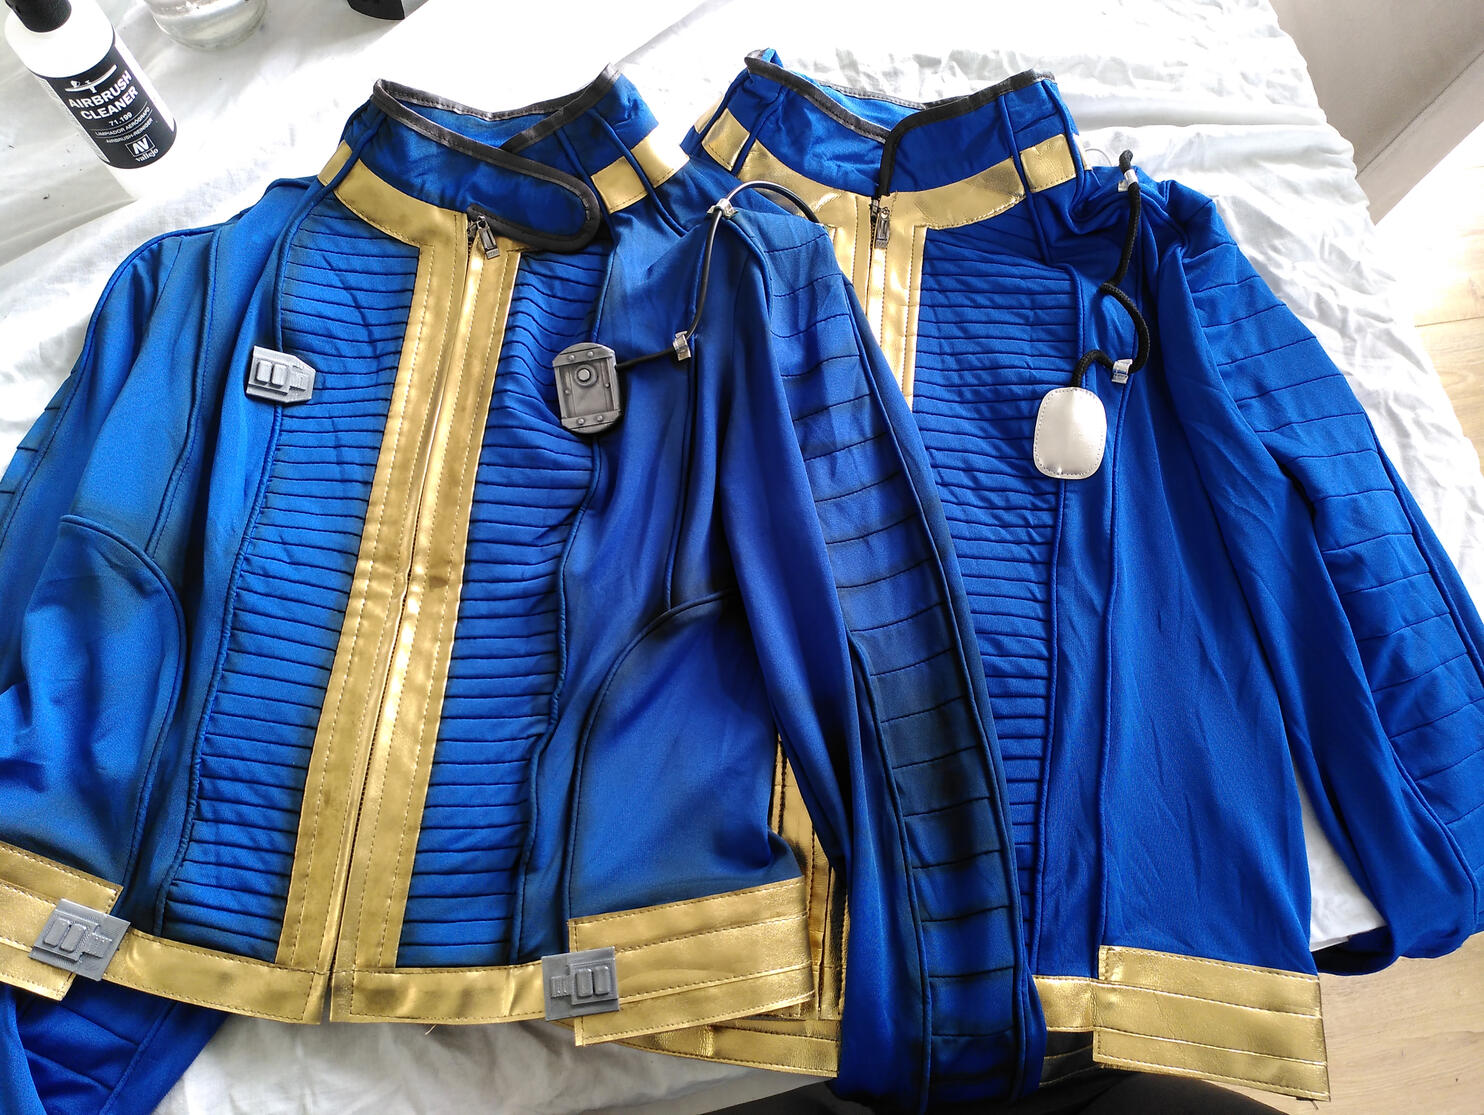
In this photo:
Right: weathered and upgraded vest.
Left: the vest as it came.
The final result
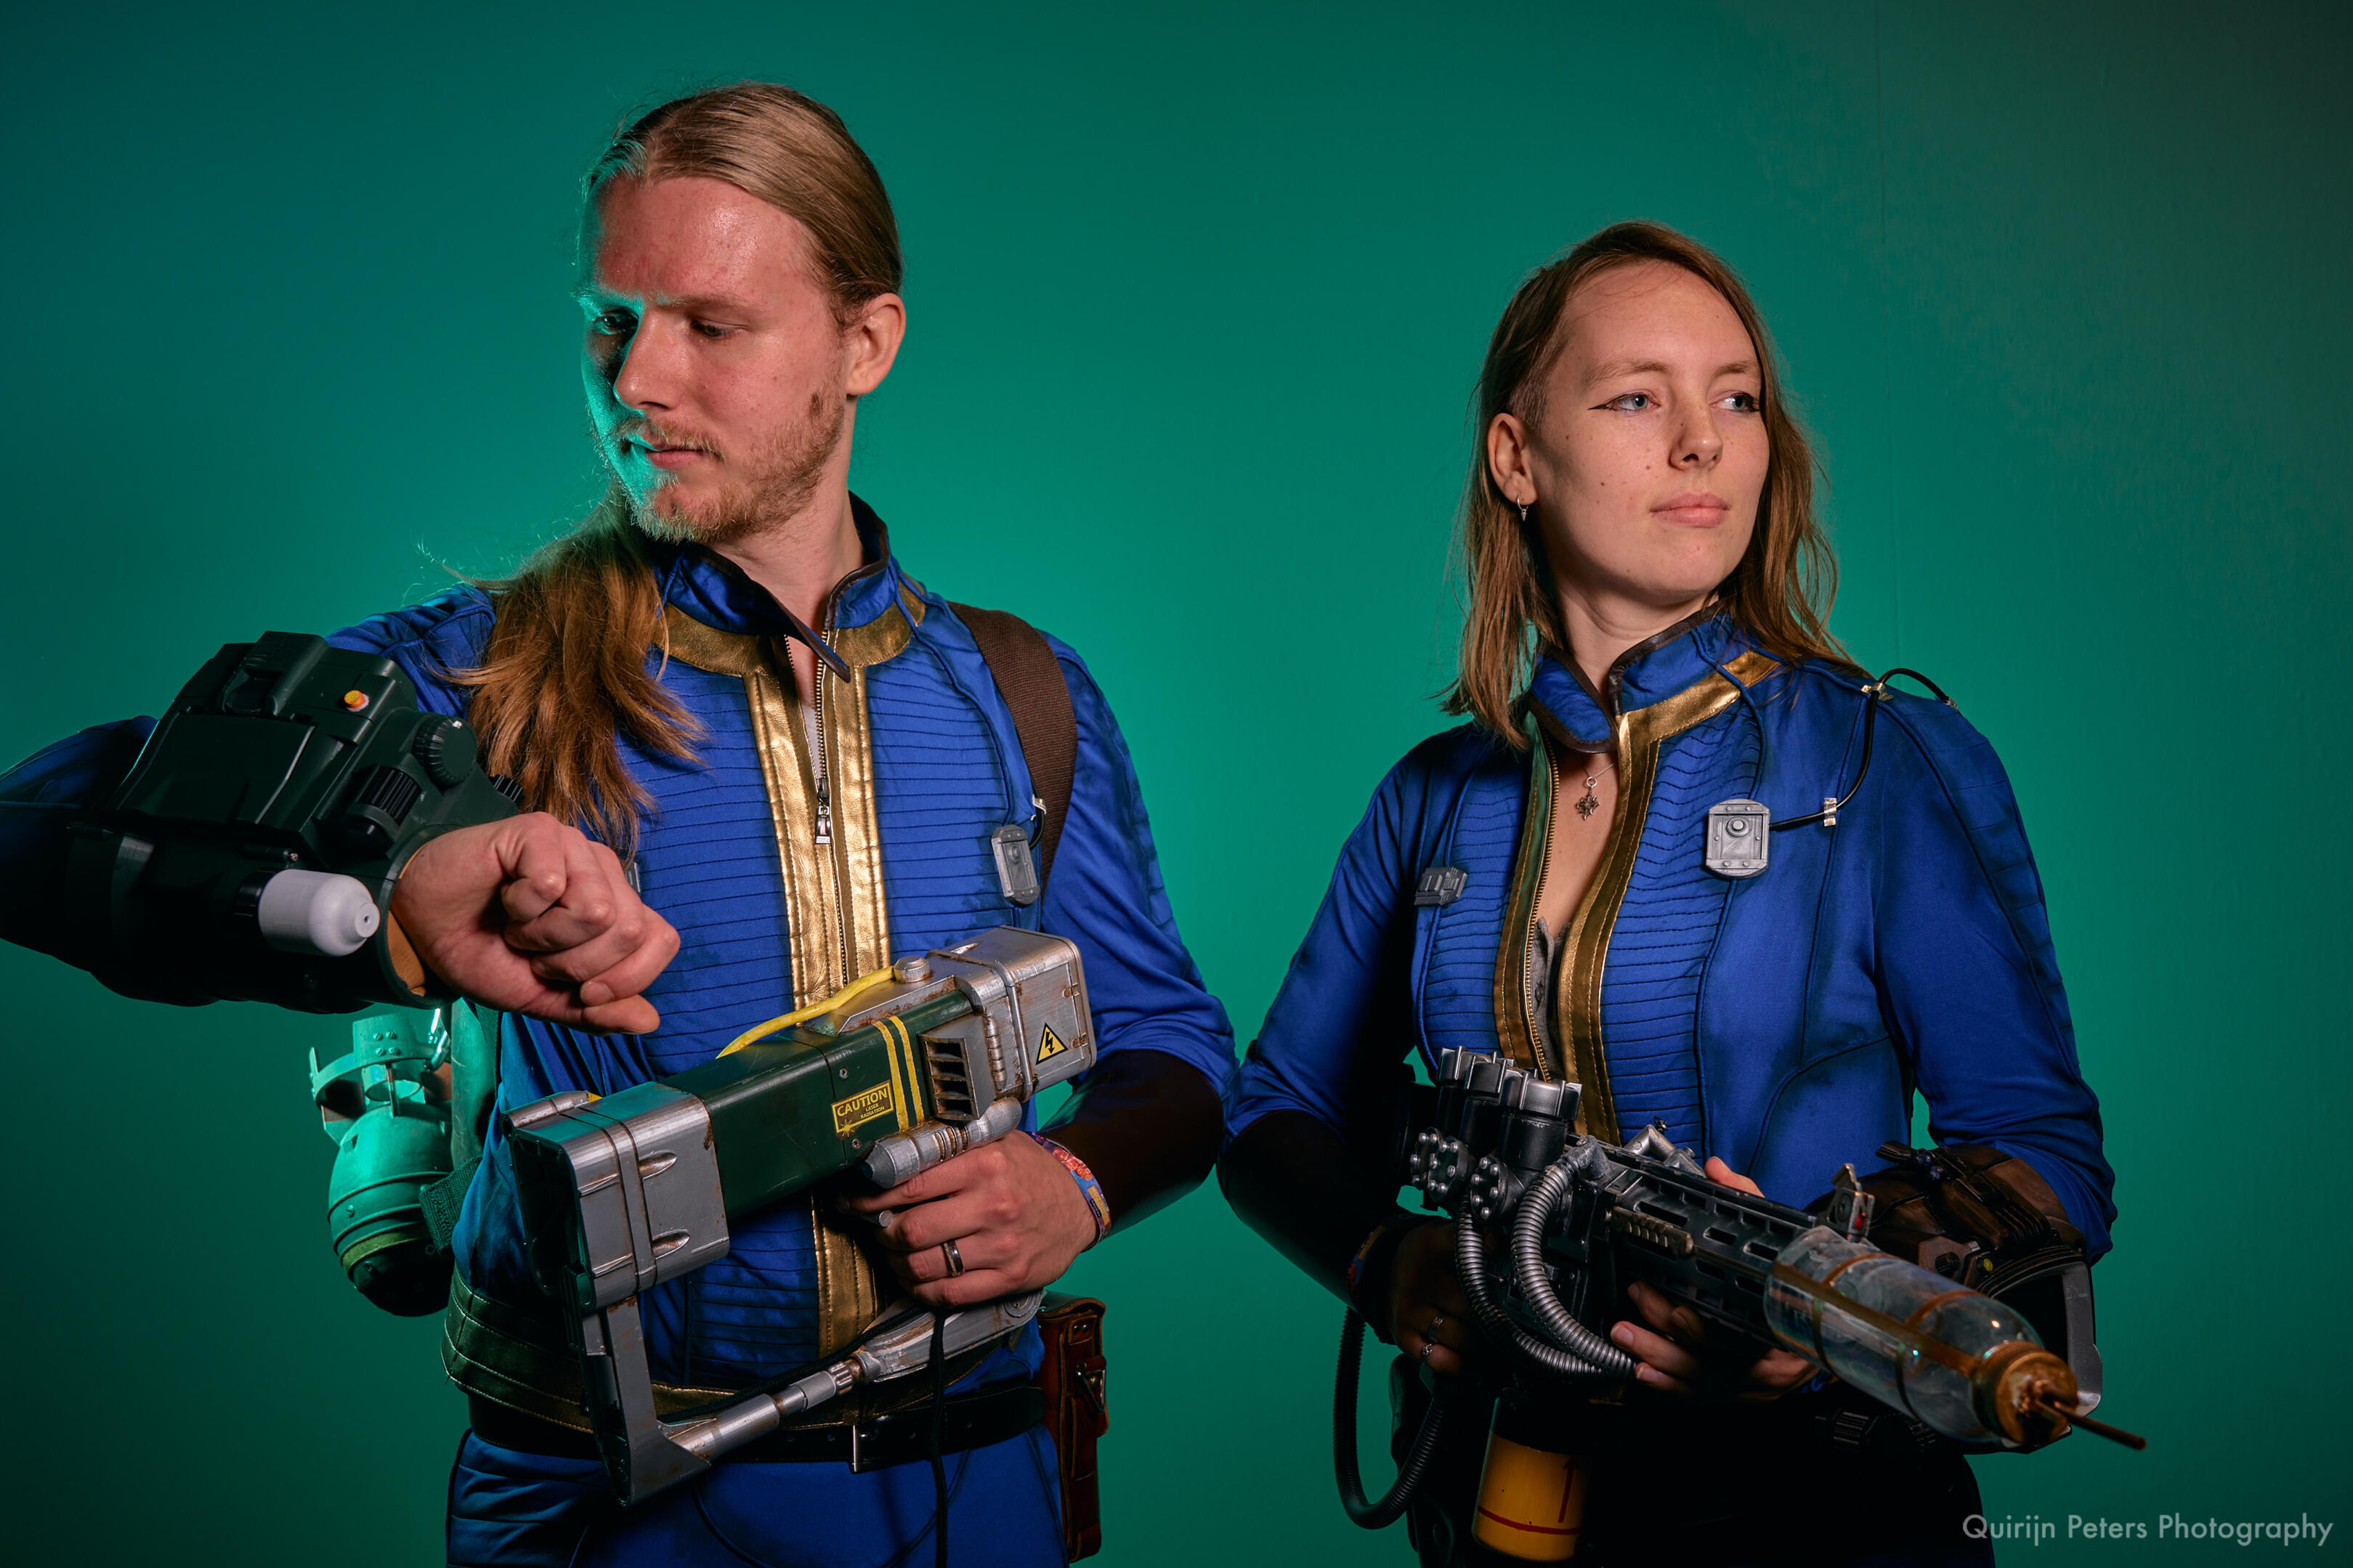
Selkie - folklore
From mythology to reality
Work in progress photos of my selkie cloak! Selkies are mythological creatures: women that can turn into seals with a magical seal pelt.
Cloak

Freehand pattern with lining fabric

Two-sided fur for the flippers

Freehand flipper shape

sewn flipper with topstitched toes

Assembled cloak

Thermoplastic claws

Airbrushed fur

Adding claws


My selkie cloak is based on the Leopard seal so the patterns match this animal. I cut the fur from the inside out with a knife to keep lose hairs to a minimum but ended up with a fine layer of fur on my table either way.
Head

TPU 3D print head base

Attaching the head to the cloak

Covering up the attachment

Painting the teeth and gums

Gluing on whiskers

Result


I adapted an existing model of a leopard seal in Blender and 3D printed it in TPU so it would be somewhat flexible.
Finished!

Showing my cloak to the singer of Blackbriar (who is wearing her own cloak) together with my friend. Photo by @rvaandrager at Castlefest 2026
Lapras - pokemon
My design brought to life
A pokemon trainer/gajinka (human form of a creature) based om my favourite pokemon: Lapras!
photo by @adriaan.photography
Design

Left is the sketch I made for this costume. The skirt is meant to look like waves with seafoam. Below is an artwork made by my friend Imomo based on my cosplay. Drawn together with the pokemon Lapras.
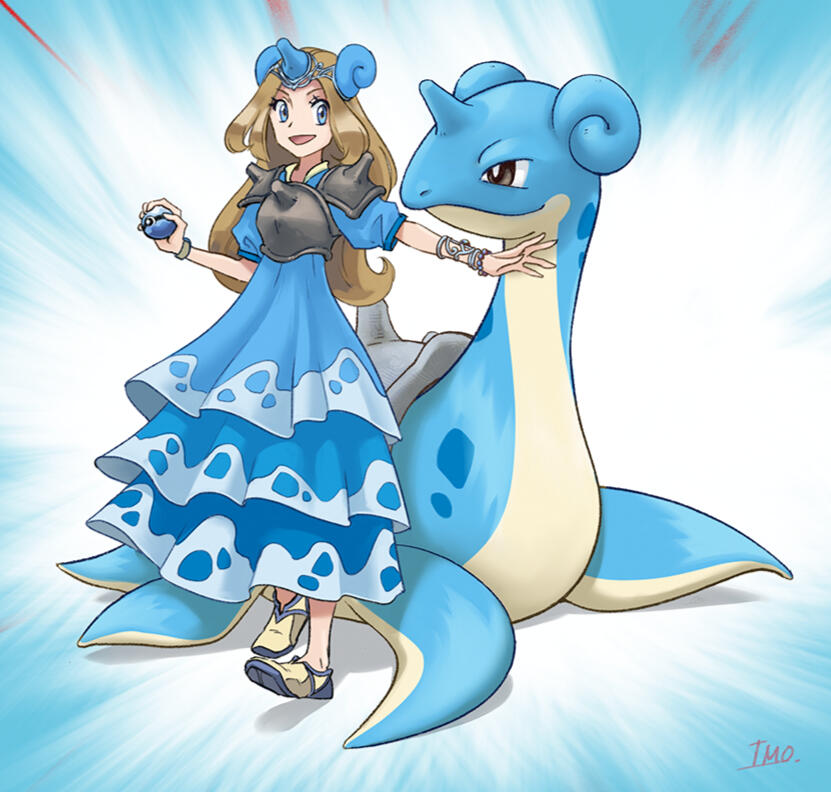
Horns

foam clay horns sculpted on a base of aluminium foil

Painted horns

"crown" made with metal wire


Armor

Shoulder pauldrons with EVA foam

Chest and shoulder armor with foam dowel edges

Airbrush painted


Skirt

3 layers of half circle skirt

Seafoam edges

Handsewing holes

All seafoam edges done


The skirt is three layers of half-circle skirt. I installed a zipper on one side and hemmed the edges. I have no photos of how I made the shirt but it's the top half of a princess dress pattern.
Final result
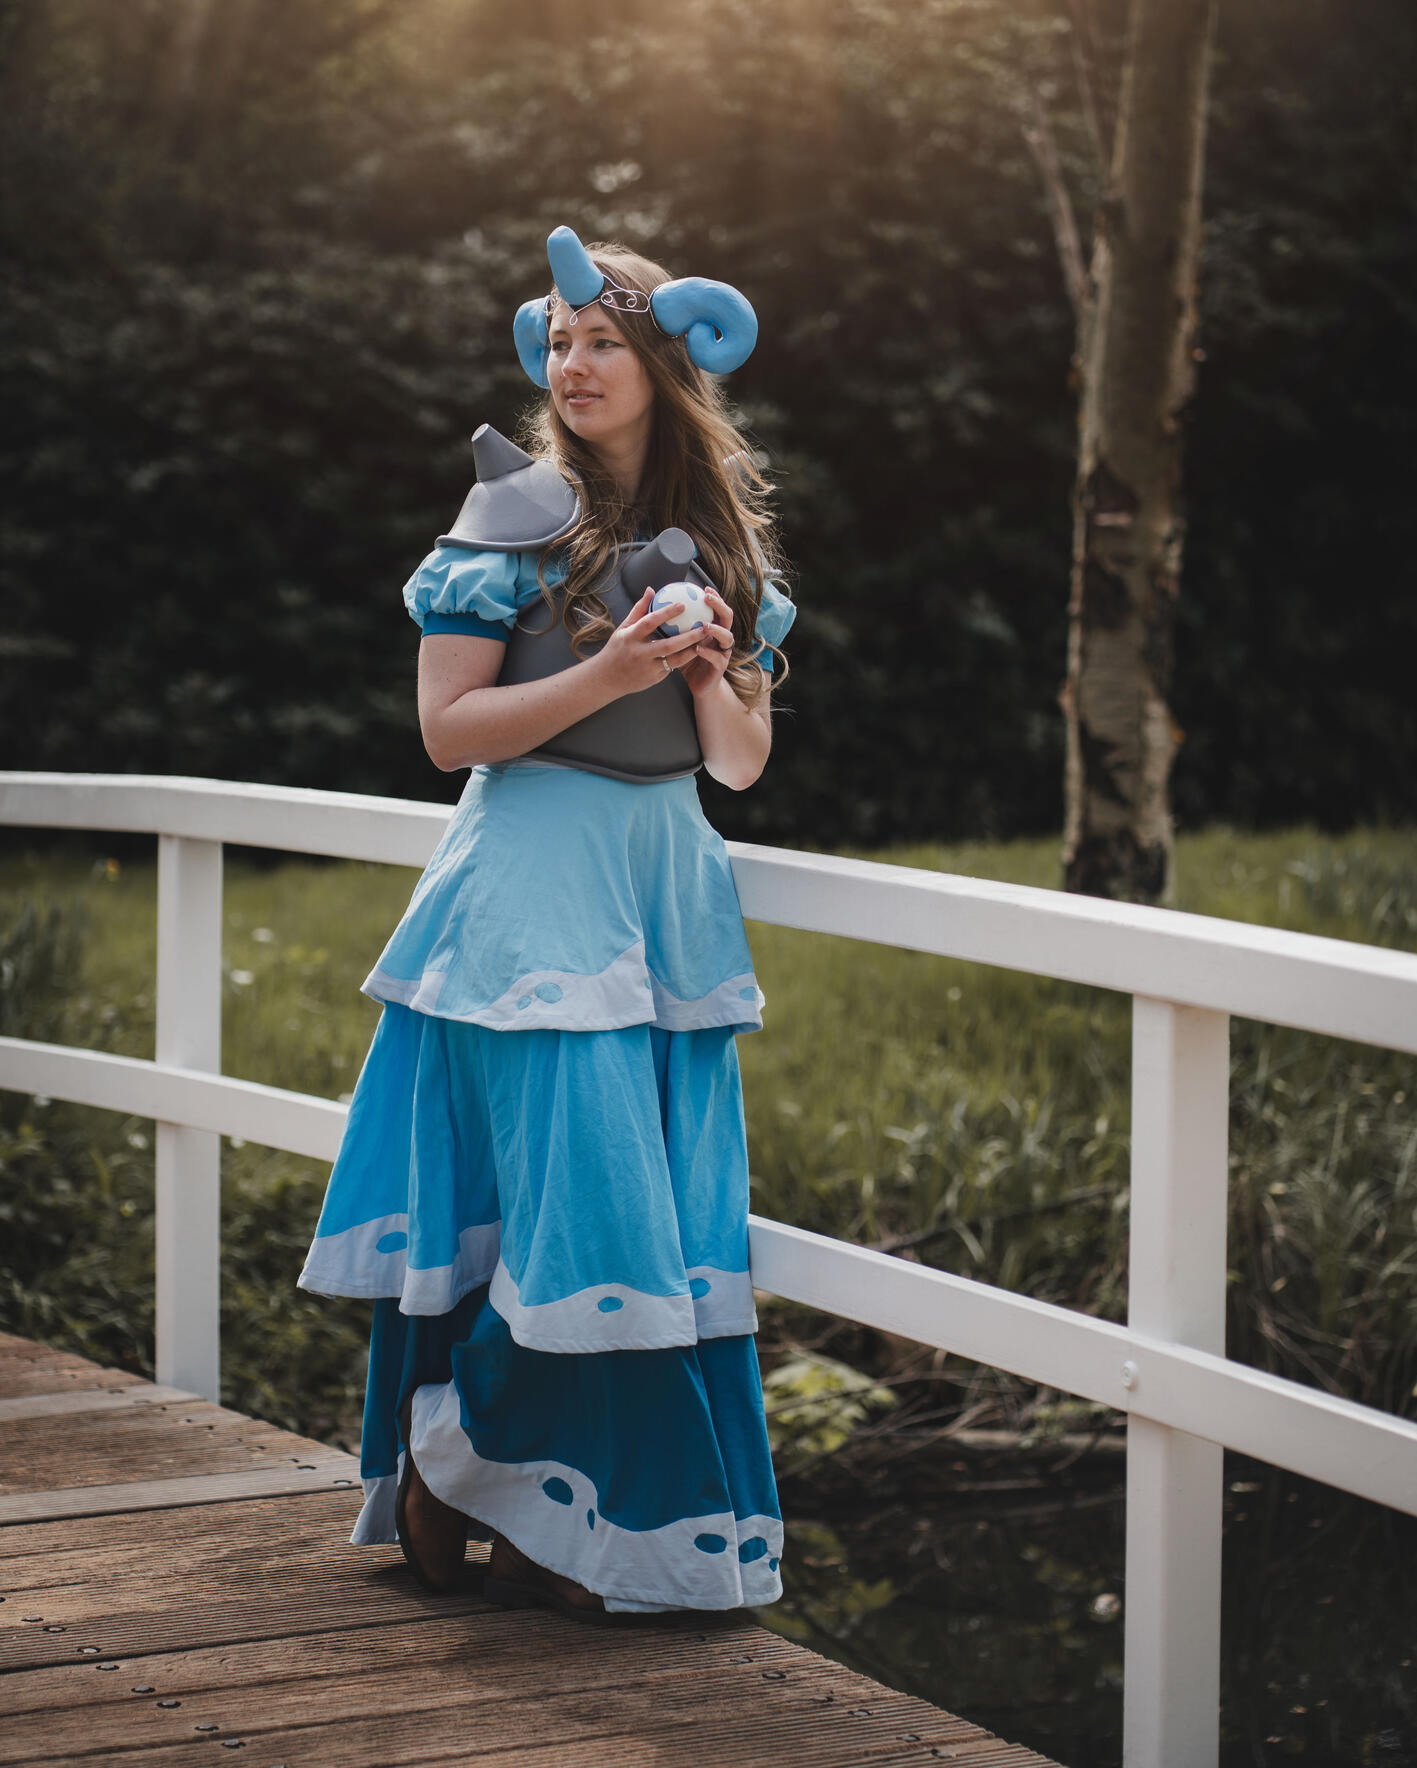
The finished cosplay! I 3D printed a pokeball as a prop to go with it.Photo by @Stance.creations
Mistborn
From book to reality
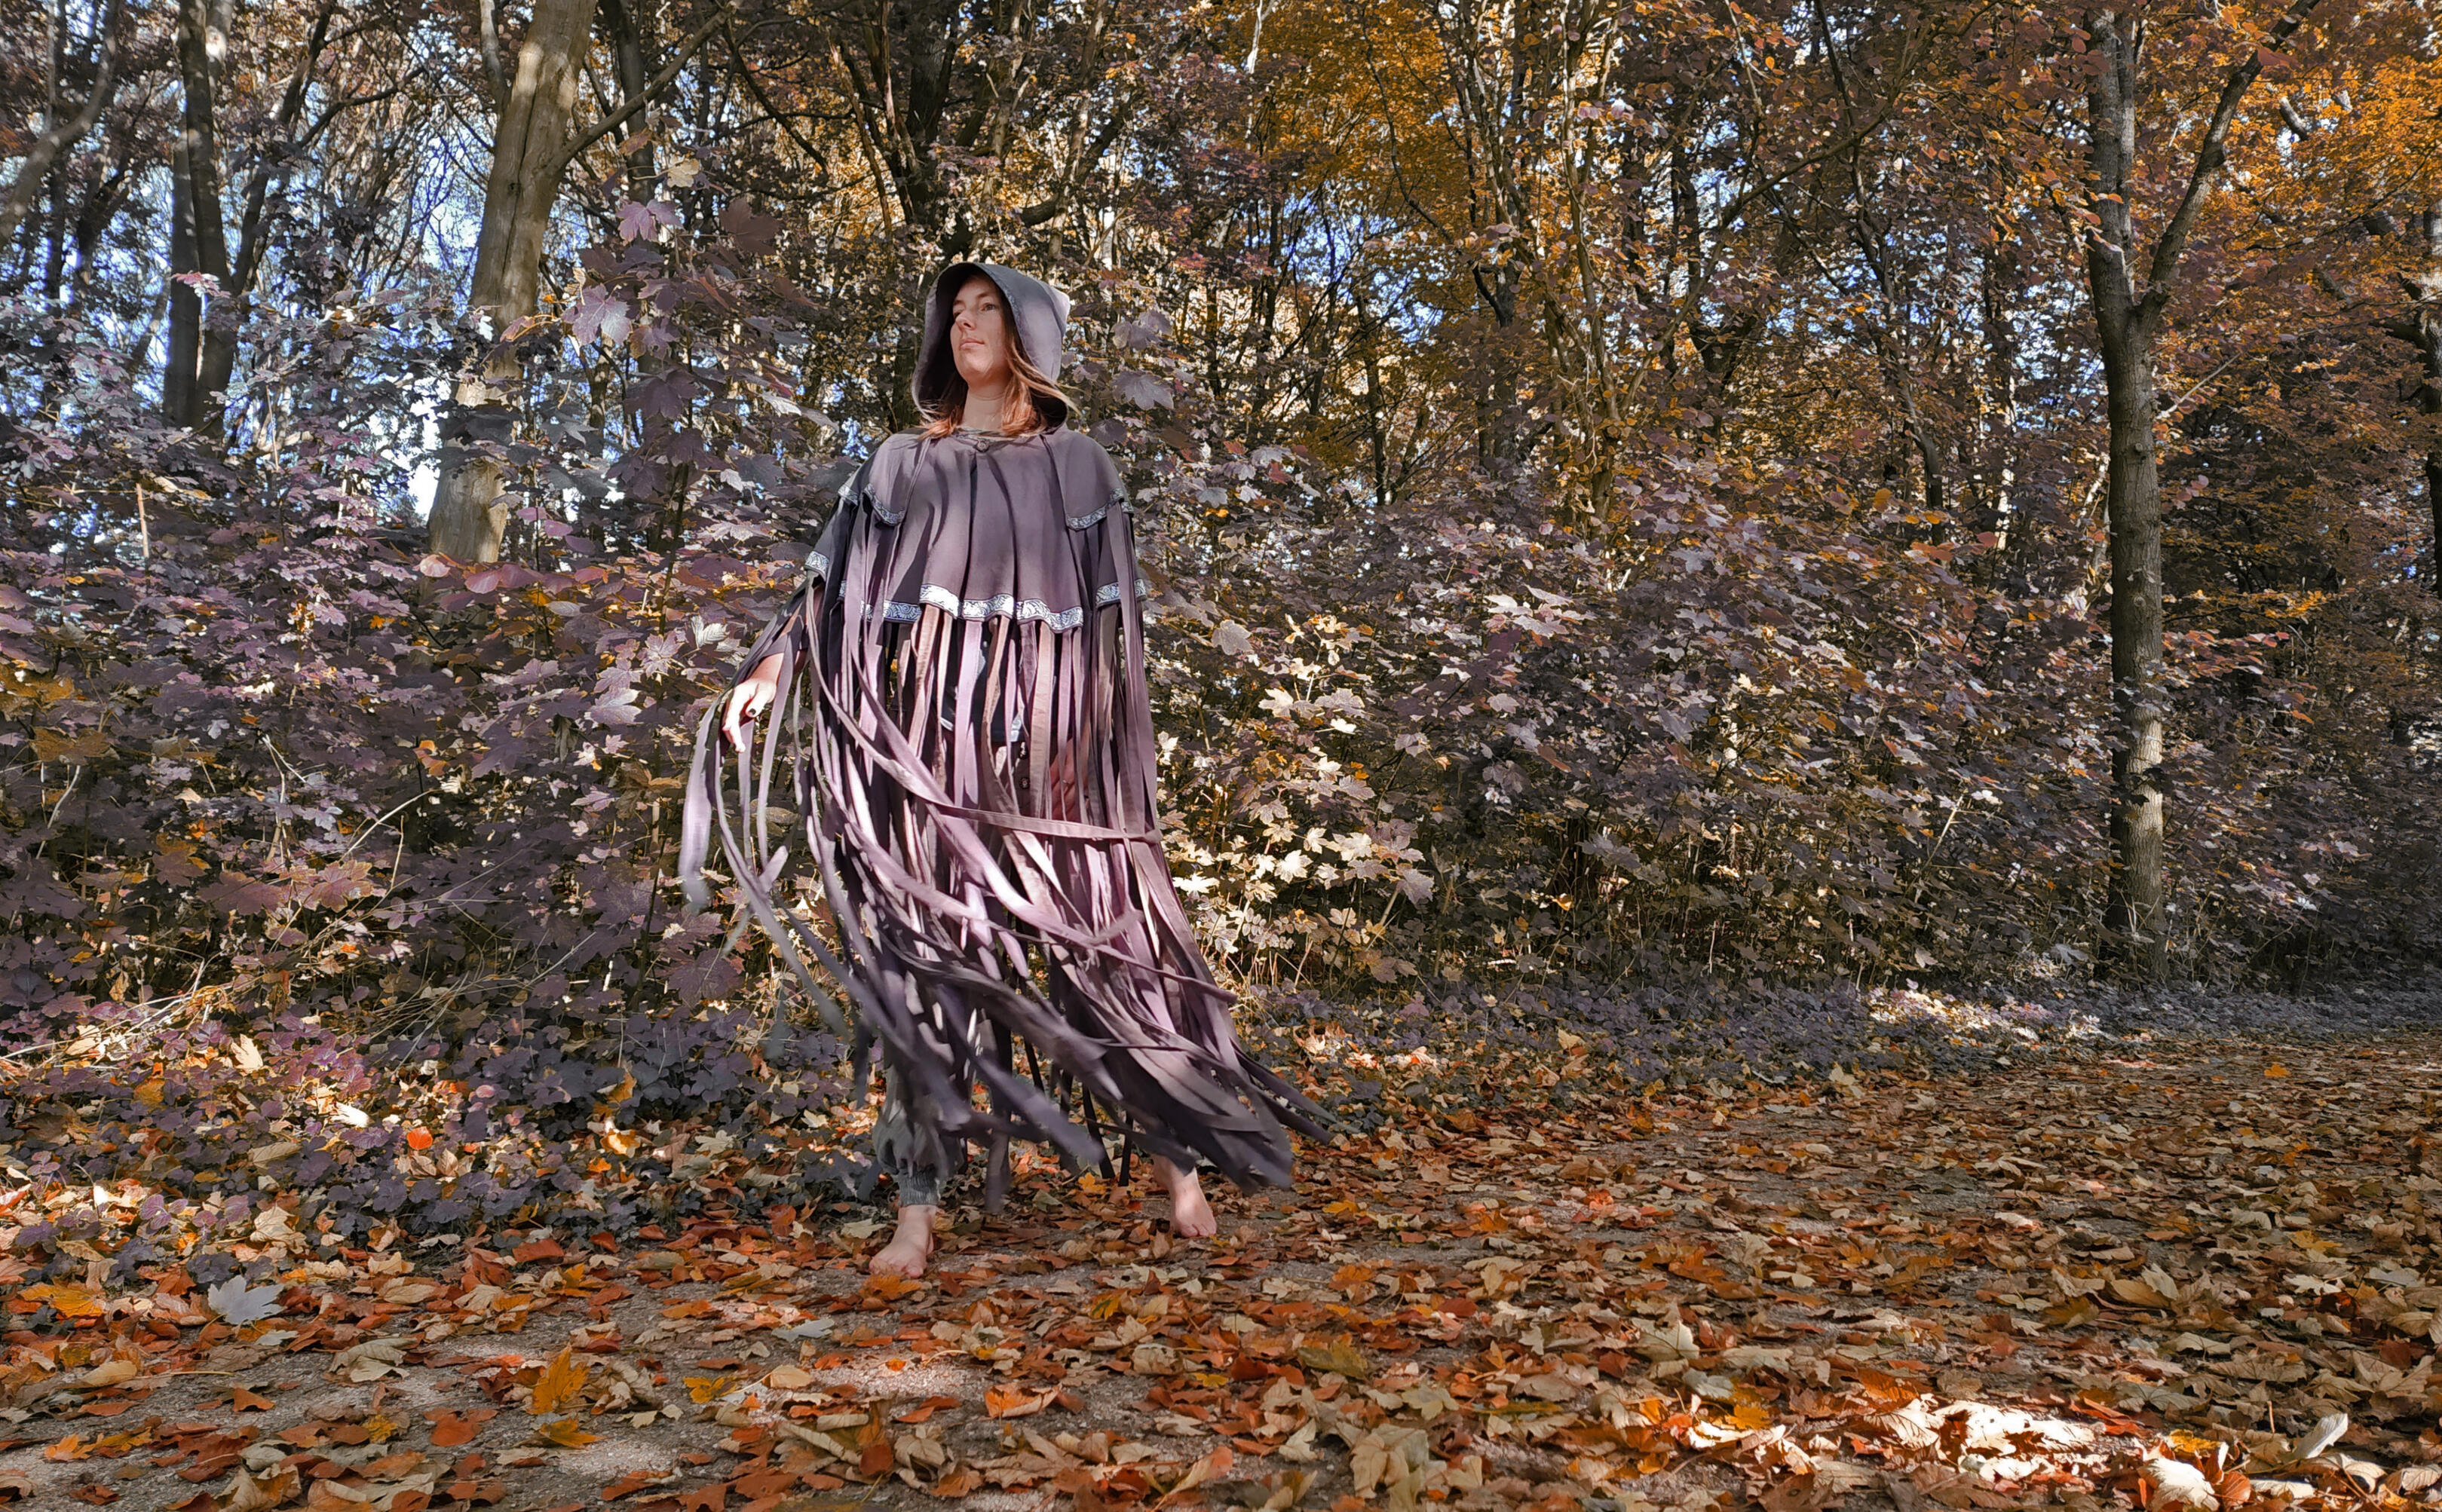
Work in progress photos of my mistborn cosplay, based on the books by Brandon Sanderson
Sewing

Simple capelet pattern x2

Sewing 60 tassles

Ironing 60 tassles

Decorative rim

Wooden button for closure


While this cloak was a lot of work, it wasn't difficult. The tassles took up the bulk of the work each having to be sewn, turned inside out and ironed.
Final result
Laser rifle - Fallout
Built from scrap
Work in progress photos of my fallout plasma rifle
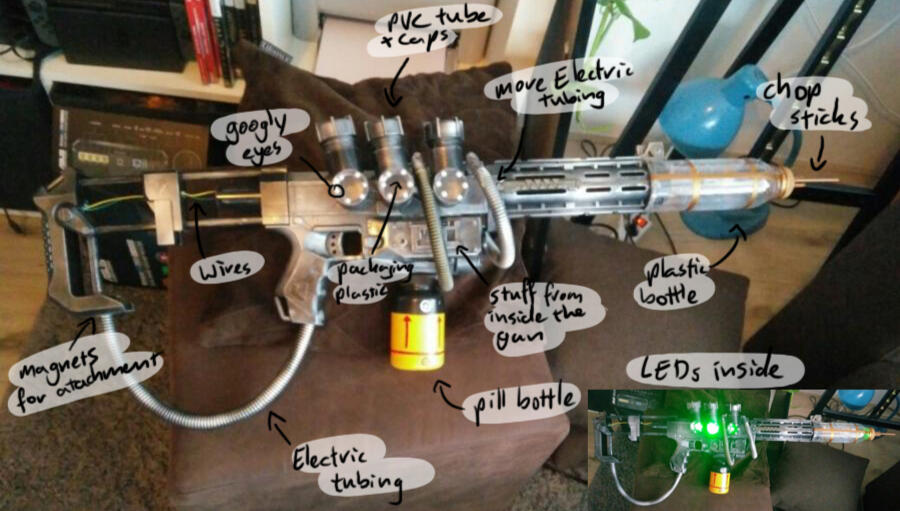
An overview of all the materials I used to build the prop. At its core there's a nerf gun, though its entirely stripped of its mechanics.
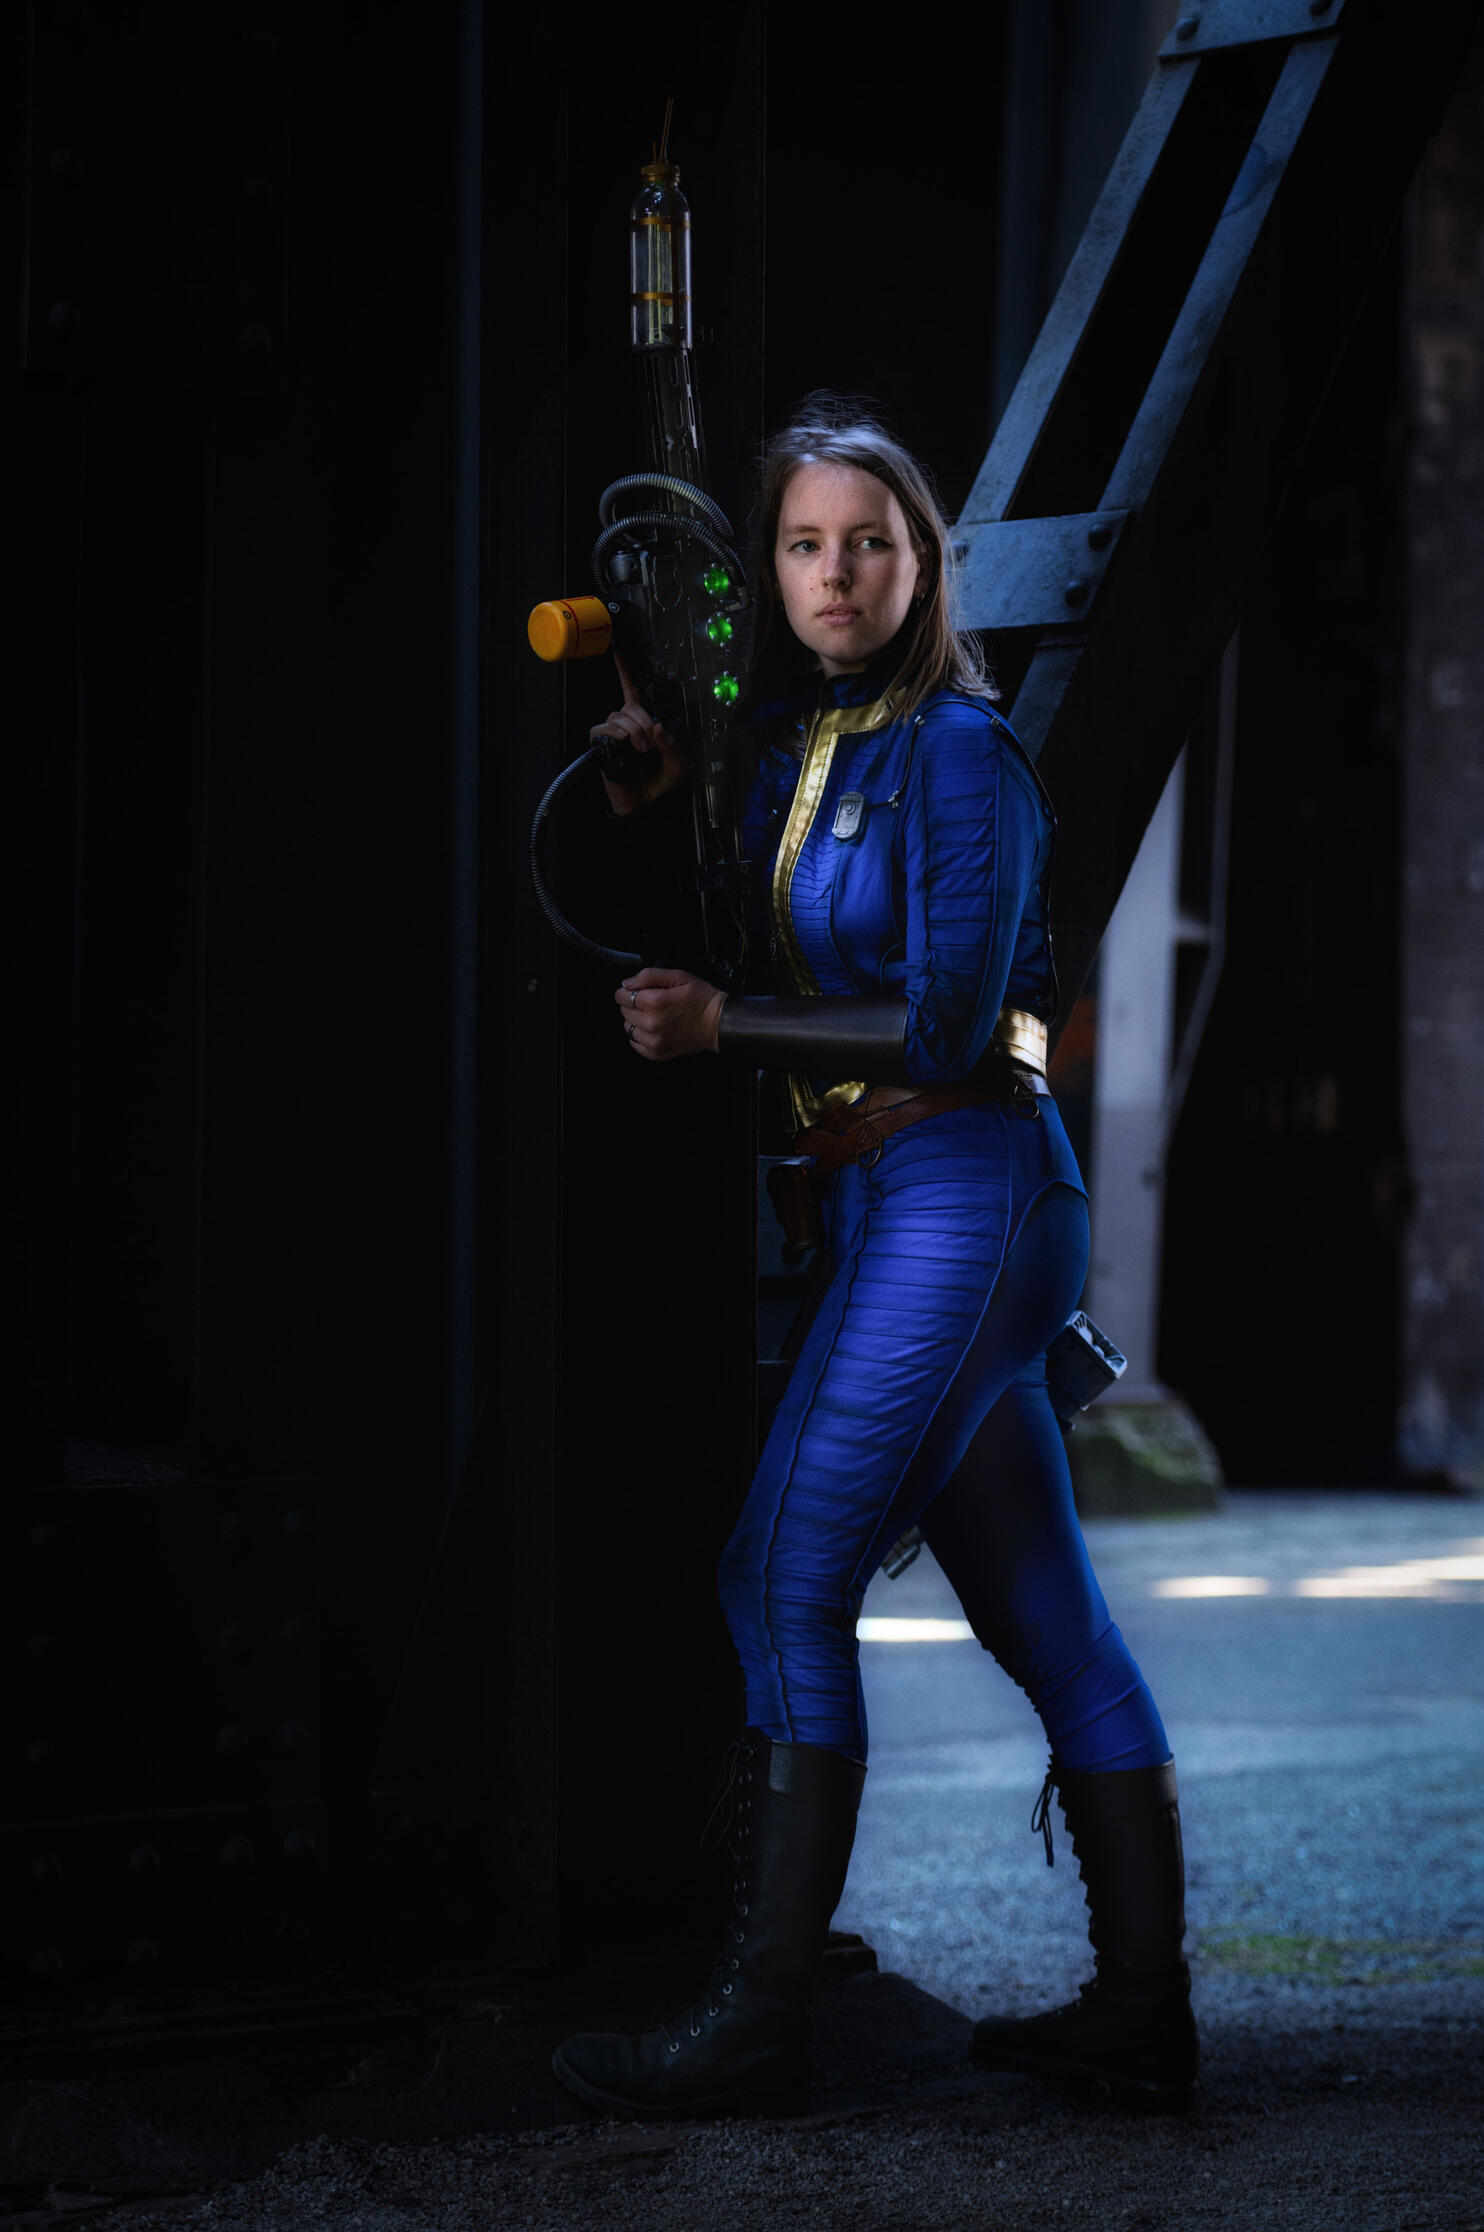
Photo @shot.bymarije
Xeno spear
An improvised weapon
Work in progress photos of my xenomorph spear based on the spear seen in Alien vs Predator

EVA foam base with foam clay

Painting

Attached to a pvc pipe with metal wire


The metal wire passes through the pipe behind where the tail piece sits so it's very securely attached and cannot slide.
Needler rifle - Halo
3D printing a weapon
Work in progress photos of my needler rifle

The needler rifle is entirely 3D printed out of PLA and was then sanded and airbrushed.
Lightrifle - Halo
Built layer for layer
Work in progress photos of my lightrifle
Preparation
Used as a guideline for my build:
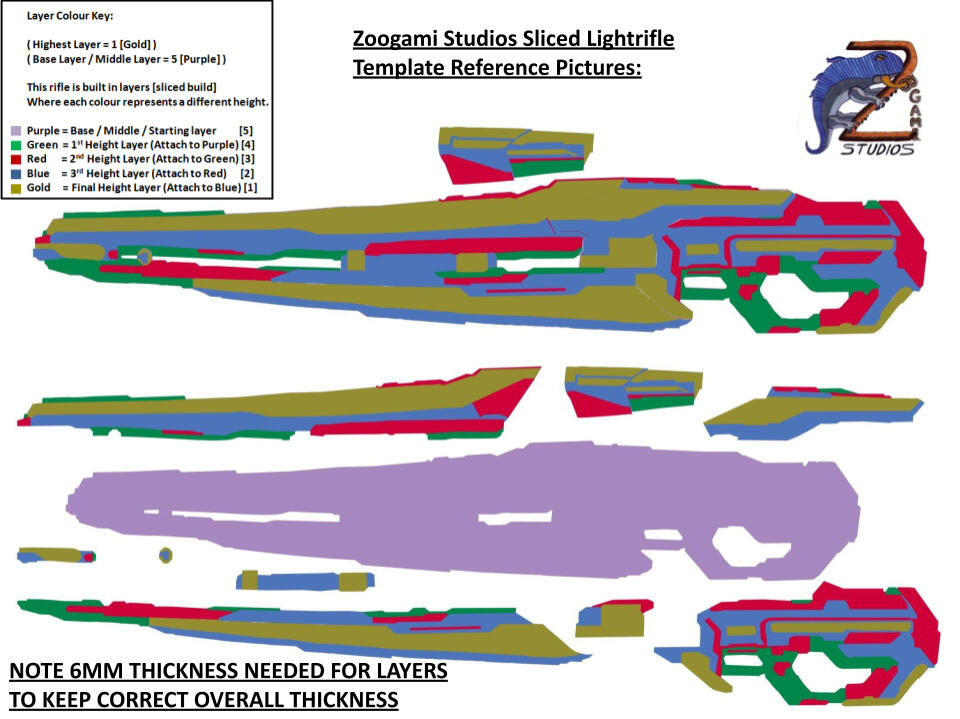
I traced and numbered all the pieces so I could print them as a pattern to cut out of EVA foam:

Build

Assembly

Assemled

LED cable for light effect

Painting


There is a fibreglass rod at it's core to keep it stiff.
I made this prop out of EVA foam so I would have a light and practically indestructible prop to bring to conventions. This way it won't strain my wrists like a fully 3D printed prop of this size would.
Final result